
Step By Step Guide to Making DIY Emergency Candles
In this step-by-step guide, you will learn how to make DIY emergency candles to have handy during power outages. Whether you’re a beginner or an experienced crafter, this simple yet practical project will equip you with a reliable light source when needed the most. With just a few materials and easy-to-follow instructions, you’ll be able to create your own emergency candles and never be left in the dark again. So, let’s grab our supplies and embark on this survival journey together!
Step-by-step Guide to Making DIY Emergency Candles
Materials Needed for DIY Emergency Candles
To make your own DIY emergency candles, you will need the following materials:
- Wax: Choose a wax type that is suitable for candle making, such as soy wax or beeswax.
- Wicks: Select wicks that are appropriate for the size of your candles.
- Containers: Find containers that are heat-resistant and can hold the melted wax.
- Double boiler: Use a double boiler for indirect heating to melt the wax.
- Thermometer: Make sure you have a thermometer to monitor the wax temperature.
- Scent (optional): If you want scented candles, choose fragrance oils or essential oils.
- Coloring (optional): If you prefer colored candles, consider using candle dye or crayons.
- Heat-resistant surface: Protect your work area with a heat-resistant material.
- Pliers or scissors: Use pliers or scissors to cut and secure the wicks.
- Fire extinguisher: It’s important to have a fire extinguisher nearby for safety.
Step 1: Prepare the Work Area
Before you start making your emergency candles, it’s essential to prepare the work area properly. Here’s what you need to do:
- Choose a well-ventilated area: Ensure that there is enough fresh air circulating to prevent any fumes or odors from accumulating.
- Protect the surface: Place a heat-resistant material, like a silicone mat or aluminum foil, on your work surface to protect it from any spills or drips.
- Keep away from flammable objects: Ensure that your work area is free from any flammable materials such as curtains, paper, or liquids.
- Keep a fire extinguisher nearby: In case of any accidents or emergencies, it’s essential to have a fire extinguisher within reach.

Step 2: Select the Wax
Choosing the right wax is crucial to ensure your candles burn properly. Consider the following factors:
- Wax type: Select a wax type that suits your preferences and needs. Soy wax and beeswax are popular choices for emergency candles due to their long burn time and clean-burning qualities.
- Melting point: Different waxes have different melting points, so choose one that suits your equipment and melting method.
- Burn time: Keep in mind the duration you want your candles to burn when selecting the wax. Look for wax specifically designed for longer burn times.
Step 3: Prepare the Candle Containers
Next, you need to prepare the containers that will hold your candles. Here’s what to do:
- Select suitable containers: Choose containers that are heat-resistant and can withstand the melted wax. Glass jars or metal tins are commonly used for emergency candles.
- Clean and dry the containers: Ensure the containers are clean and free from any dirt, dust, or residue. Wash them with warm soapy water and dry them thoroughly.
- Ensure heat-resistance: Make sure the containers can handle the heat by checking their specifications or conducting a small test with hot water.

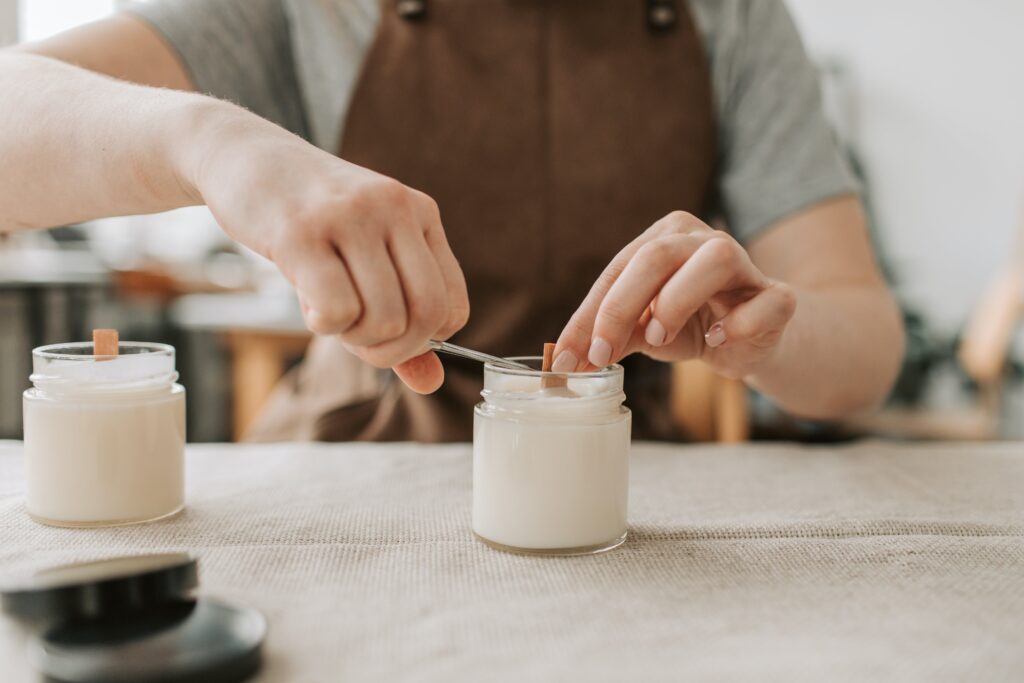
Step 4: Prepare the Wicks
To ensure your candles burn properly, you’ll need to prepare the wicks. Follow these steps:
- Cut wicks to the desired length: Measure and cut the wicks to fit the height of your containers. Leave a little extra length to secure the wicks.
- Secure the bottom end of the wicks: Use pliers or scissors to secure the bottom end of the wicks to the center of the containers. This will ensure they stay in place during the pouring process.
Step 5: Melt the Wax
Now it’s time to melt your selected wax. Follow these steps carefully:
- Use a double boiler for indirect heating: Fill the bottom portion of the double boiler with water and place it on the stove. Put the wax in the top portion of the boiler.
- Heat the wax until it reaches the recommended temperature: Monitor the wax temperature using a thermometer. Heat it to the recommended temperature specified by the wax manufacturer.
- Stir occasionally to aid melting: Stir the wax occasionally to help it melt evenly. Be cautious of any steam or hot wax splatters during the process.

Step 6: Add Scent and Color (Optional)
If you want to add a pleasant aroma or color to your emergency candles, follow these optional steps:
- Add scent oils or fragrances to the melted wax: Carefully measure and add your chosen scent oils or fragrances to the melted wax. Stir well to ensure they mix thoroughly.
- Add coloring agents if desired: If you prefer colored candles, you can add candle dye or even melt crayons of your desired color into the wax. Adjust the amount based on the desired intensity.
- Stir well to distribute evenly: Mix the scent and colorants thoroughly into the melted wax to achieve an even distribution.
Step 7: Pour the Wax
Now it’s time to pour the melted wax into the prepared containers. Follow these steps to make DIY emergency candles :
- Carefully pour the melted wax into the containers: Slowly pour the melted wax into the containers, ensuring that the wicks stay centered.
- Avoid overflowing or spilling: Leave a small gap at the top of the containers to prevent the wax from overflowing when it solidifies.
Step 8: Cool and Set the Candles
After pouring the wax, it’s important to let your candles cool and solidify properly. Follow these instructions:
- Allow the candles to cool undisturbed: Place the containers on a heat-resistant surface and let the candles cool at room temperature. Avoid moving or touching them until they have completely solidified.
- Wait for the recommended timeframe: Each type of wax has a specific cooling time. Refer to the wax manufacturer’s guidelines for the recommended cooling timeframe before using or moving the candles.
Step 10: Store and Use Safely
Once your emergency candles are ready, it’s essential to handle and store them safely. Remember these precautions:
- Store the candles in a cool and dry place: Keep your candles away from heat sources, direct sunlight, and extreme temperatures to ensure their longevity.
- Keep them away from children and pets: Place your emergency candles out of reach from curious little hands and playful pets to prevent accidents or injuries.
- Use emergency candles responsibly: Use your homemade emergency candles responsibly and follow all safety guidelines to prevent fires or other mishaps.
Concluding DIY Emergency Candles
By following these step-by-step instructions, you can easily create your own DIY emergency candles. Not only are these candles practical for power outages and emergencies, but they also make thoughtful gifts or lovely additions to your home decor. Enjoy the process of candle making and the warm glow they bring in times of need!